How to Crochet Granny Square Hand Warmers
Welcome back to my blog! Today I will be showing you how to make these granny square hand warmers!
If your prefer to watch a tutorial, check out my youtube video through the link below:


Because I made mine around valentine's day, I made mine with a heart granny square, but you can choose any granny square that you like for this pattern. I will be adding the heart granny square pattern though, as well as the heart chain pattern for around the bottom, in case you would like to make the exact same hand warmers :)
Note: If you decide to use another granny square for this pattern, you may have to add an extra round at the end of the square to make it the right size for your hand.
Abbreviations:
ch - chain
MR - magic ring
sc - single crochet
hdc - half double crochet
dc - double crochet
tr - triple crochet
dec - decrease
inc - increase
sl st - slip stitch
st - stitch
Materials Needed:
Medium weight size 4 acrylic yarn in white and red
3.75 mm crochet hook
scissors
yarn needle
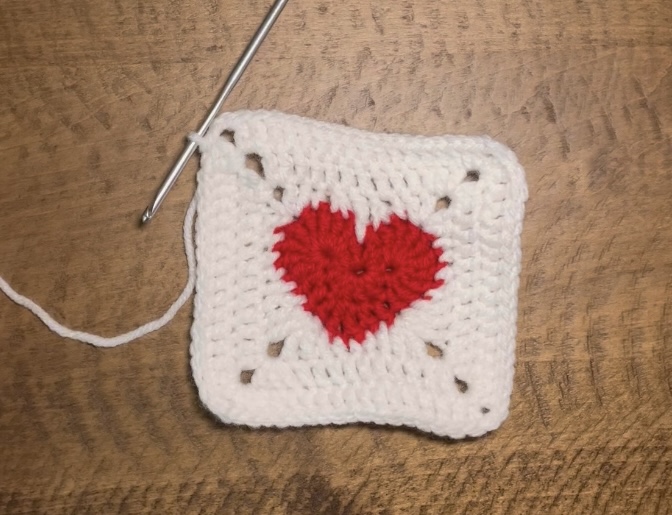
How to Make the Heart Granny Square:
Round 1: with red yarn, into a MR, ch 3, 11 dc, sl st to top of ch 3 (12)

Round 2: skip 2, 8 tr into the third st, dc in each of the next 2 st, (dc, tr) in next st, ch 1, (tr, dc) in next st, dc in next 2 st, 8 tr in next st, sl st between first and last st of round 1. Fasten off and cut red yarn.


Round 3: attach white yarn to fourth tr made in round 2. Ch 3, dc in same st, hdc, sc, hdc, dc, tr, (2 tr, ch 2, 2 tr) in next st, dc, hdc, sc, hdc, dc, (2 tr, ch 2, 2 tr) in next st, tr, dc, hdc, sc, hdc, (2 dc, ch 2, 2 dc) in next st, hdc, dc 2 together, tr between first and last st of round 1, dc 2 together, hdc, (2 dc, ch 2) in beginning st of this row, sl st into ch 3 (You should end with 9 st on each side of square with a ch 2 in each of the four corners)


Round 4: ch 3, dc in ch 2 space below dc n each of the next 2 st, (2 dc, ch 2, 2 dc) in ch 2 space. Repeat italics 3 more times. On the third time, to finish off the round only (2 dc, ch 2) in the last ch 2 space and sl st into top of ch 3 (You should end up with 13 st on each side of the square, with a ch 2 in each corner)

Round 5: ch 3, dc in ch 2 space below, dc in each of the next 13 st, (2 dc, ch 2, 2 dc) in ch 2 space Repeat italics 3 more times, but only (2 dc, ch 2) in last ch 2 space to finish off this round. Then sl st into the top of the ch 3. (You should end up with 17 st on each side of the square, with a ch 2 in each corner) Fasten off and cut yarn. Make 4.


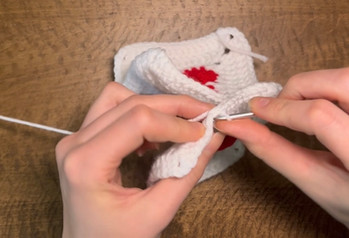
Sl st 2 squares and 2 squares together with white yarn, in first picture. (Usually on projects you will sl st the pieces together so the joining seam is on the inside, but for this project we will have the joining seam on the outside) Connect both sides of the squares, not the top and bottom! Leave a thumb hole on one side. To do this you will want to sl st part way down connecting both, in second top picture. I connected 4 st, then sl st down one square for 6 st (in bottom left corner), before connecting again to finish connecting the squares (bottom right corner).


After joining the squares so you have two short hand warmers, attach the white yarn to the top of the granny squares, and make a round of sc around the top. Then fasten off and cut your yarn.

Then attach the white yarn to the bottom of the squares and make a round of sc around the bottom of the squares.

For the next round around the bottom of the hand warmers, we are going to sc around again, but at both ends make 1 dec to bring the "cuff" tighter around the wrist area. (Depending on the size of your hands/wrists you may have to adjust this or skip the dec completely) Sl st into the first sc of your row at the end.

How to Make the Ribbing:
Now it is time for the ribbing around the bottom...
Continuing from where you ended your row of sc, ch 10.

Skip the first ch st, sl st down the ch.

When you reach the bottom, sl st across the next 2 st on the hand warmer.

Turn and sc back up the ch on the sl st side.

Ch 1 when you reach the top, turn and sl st back down. Sl st across 2 st and sc back up. Ch 1 when you reach the top... (As you are working, make sure that you keep the same number, 9, stitches going up and down. If you don't your ribbing will not be even)
Continue in this fashion of sl st down and sc up until you have made the ribbing all around the bottom of the hand warmer. It should end so your final sl st down row is joining the ends of your ribbing together. Fasten off and cut your yarn. Weave in your ends.
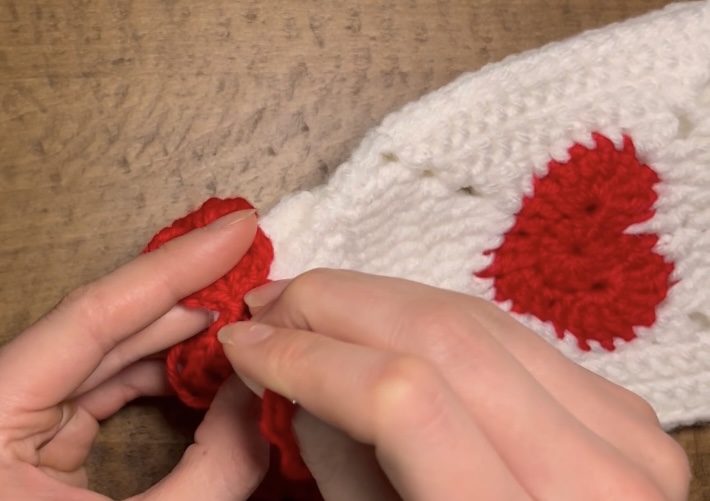
How to Make the Heart Chain:
With red yarn, ch 48.
Round 1 of 1 :) Skip 3 ch, 2 tr in the 4th ch, ch 2, sl st into same st, ch 2, 2 tr into same st, skip 3 ch, sl st into 4th ch from where you made the tr
Repeat italics until the end of the ch... You should have the tops of 6 hearts.

Then we are going to turn our work and work along the bottom side of the ch to complete the hearts.
Skip 3 ch, in the same st that you worked in before, 3 dc, ch 1, 1 tr, ch 1, 3 dc, skip 3 ch, sl st into the same ch you sl st into before
Repeat italics until the end of the ch. Sl st the ends together to form a loop of 6 hearts.

Fasten off and cut your yarn. This loop should fit around the cuff of your hand warmer. Make 2.

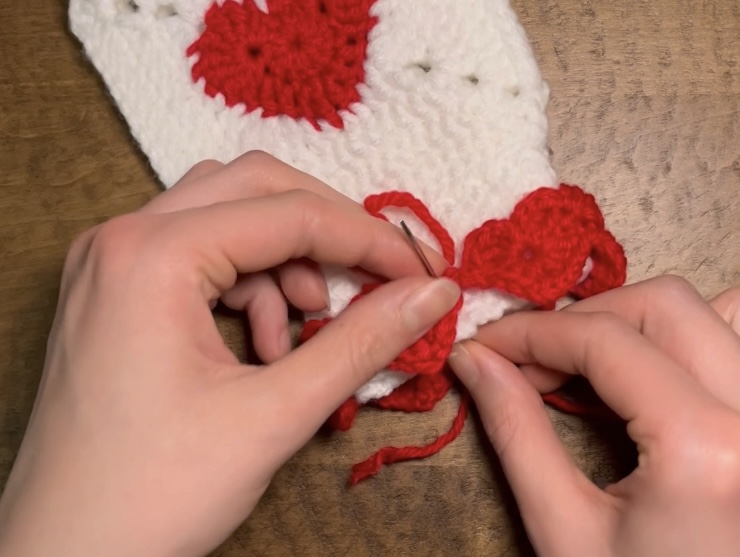
Grab your yarn needle and some red yarn and sew the heart loop around the end of your ribbing on both hand warmers.


And your project is done :)


I hope you enjoyed this fun little project! Don't forget to check out my youtube for tutorials, as well as my instagram for crochet inspiration. If you would like more free crochet patterns, subscribe to my blog, in order to not miss out on new patterns, coming out every Saturday!
Happy crocheting! :)

コメント